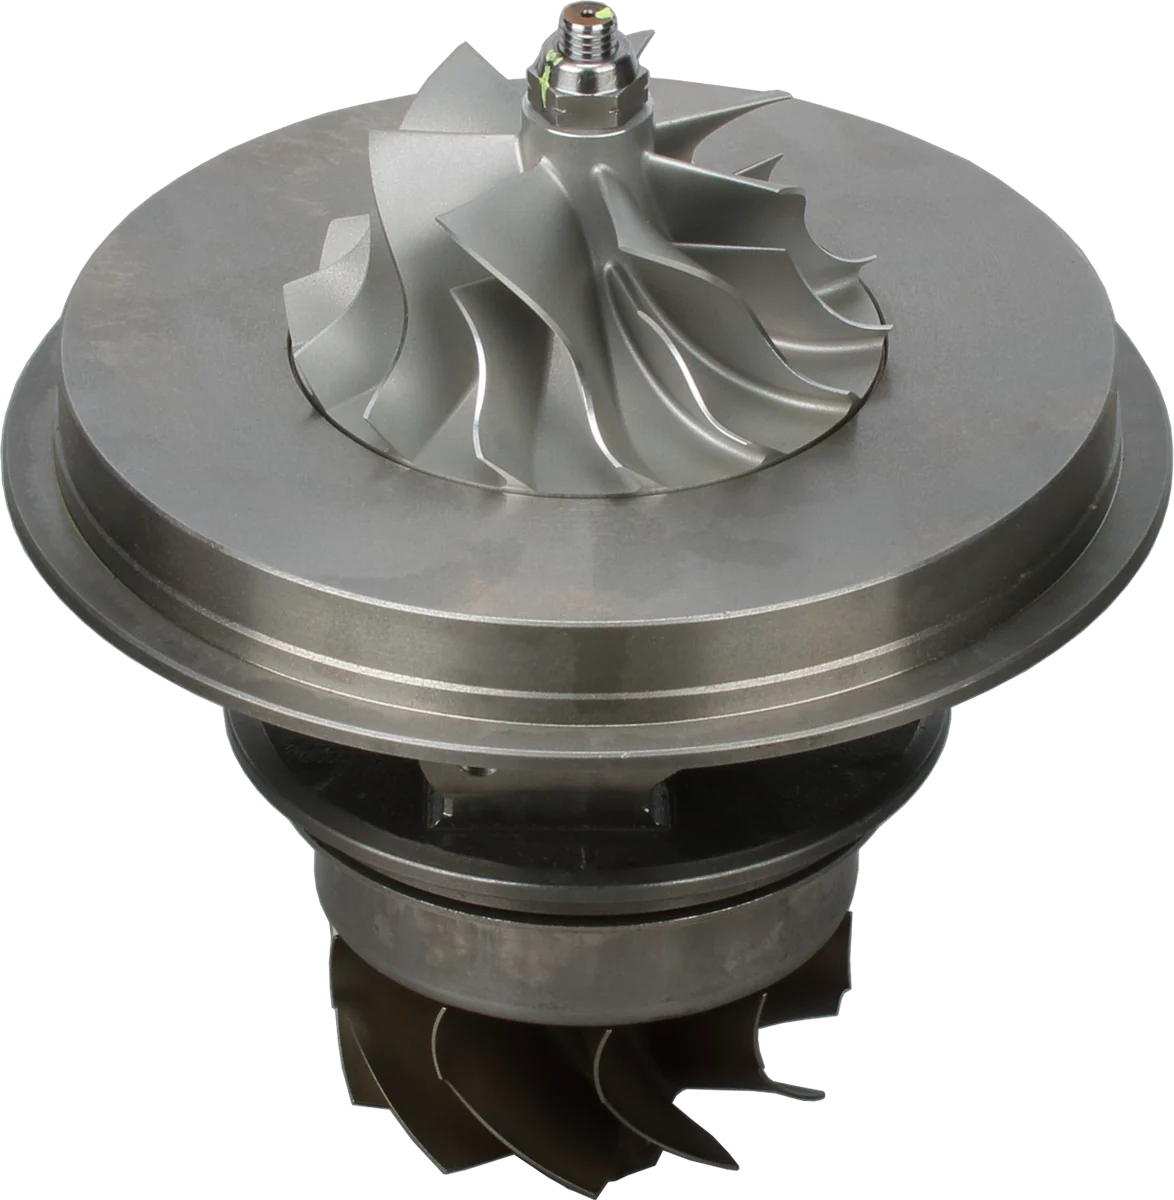
Why is a turbo warranty claim rejected?
A turbocharger can fail because another engine system or an installation error damaged it. Oil supply problems, contamination, foreign objects, incorrect installation, and operation outside the approved application are common technical reasons why turbocharger warranty claims are rejected under applicable warranty terms.
The damaged component shows where the failure ended. The investigation must establish where it began. A seized bearing, for example, does not establish whether the initiating fault was inside the turbo or upstream in its lubrication supply.
Manufacturing and assembly defects remain possible and deserve a fair investigation. Turbocharger warranty decisions should follow physical findings and the applicable coverage, rather than assumptions based on service age.
For turbocharger replacement under warranty, contact the seller before removal for claim instructions, notification deadlines, teardown restrictions, and return requirements. Gather the purchase invoice, installation date, turbo identification, engine serial number, and mileage or operating hours at installation and failure. Keep claim eligibility and the mechanical diagnosis clear throughout the process.
Act on the first failure and record the engine's condition
Treat the first incident as sufficient reason to investigate. Waiting for another turbo to fail can increase engine damage and destroy the opportunity to identify the original fault.
With severe noise, falling oil pressure, heavy smoke, or suspected wheel damage, stop operation and follow the engine's shutdown and isolation procedure. Do not restart solely to recreate symptoms or warm oil for sampling.
Capture the installed condition before topping up fluids, disconnecting lines, clearing codes, or changing filters.
| Record before removal | Details that help the investigation |
|---|---|
| Symptoms and warnings | When the problem started, noise, smoke, power loss, warning lamps, diagnostic codes, and available freeze-frame or logged data. |
| Oil and coolant | Levels before top-up, visible leaks, fluid appearance, recent additions, and recorded pressure or temperature warnings. |
| Air-filter restriction | Restriction indicator reading or measured restriction, filter condition, intake connections, and damaged or collapsed ducting. |
| Maintenance and installation | Dated oil and filter records, lubricant specification, recent engine repairs, installation paperwork, priming records, and replaced or reused lines. |
| Operating conditions | Load, engine speed, ambient conditions, dust exposure, altitude, and whether the event followed starting, acceleration, or sustained work. |
| Idle and shutdown habits | Extended idling, shutdown after heavy loading, warm-up routine, and recent changes in duty cycle. |
Record the truck, machine, vessel, or generator asset ID on every document. Save original diagnostic files where available. Separate operator recollections from measurements, and identify missing information instead of filling gaps with guesses.
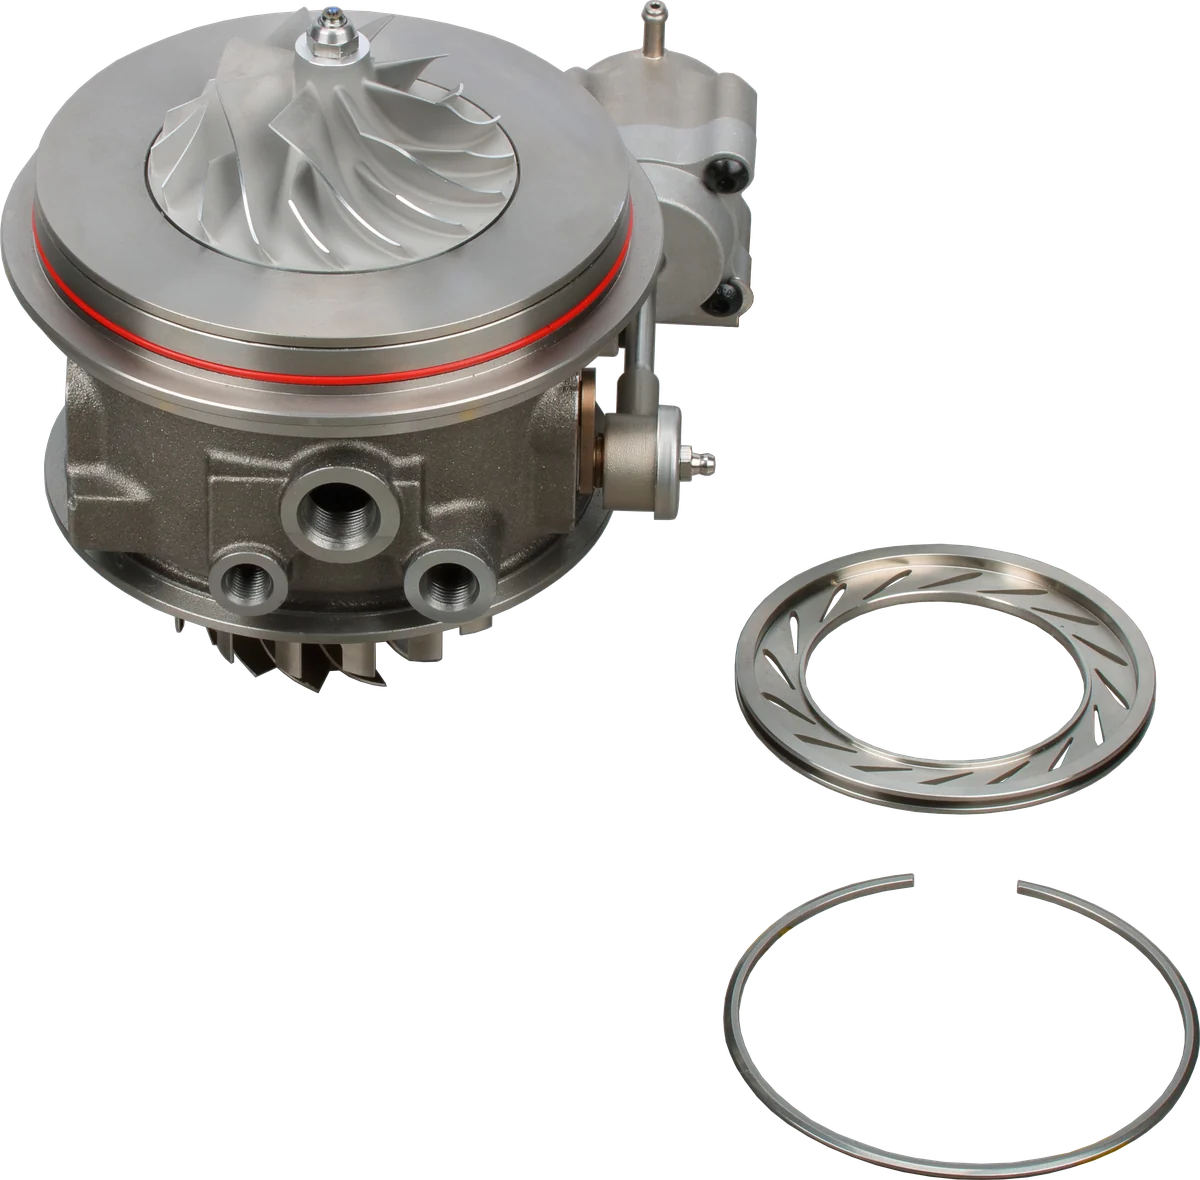
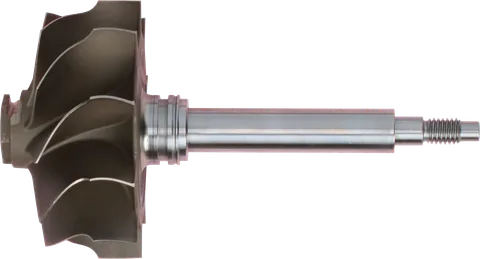
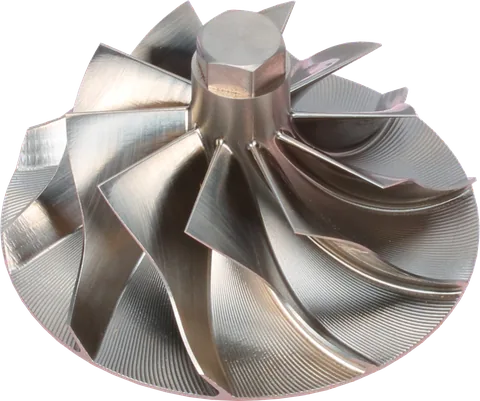
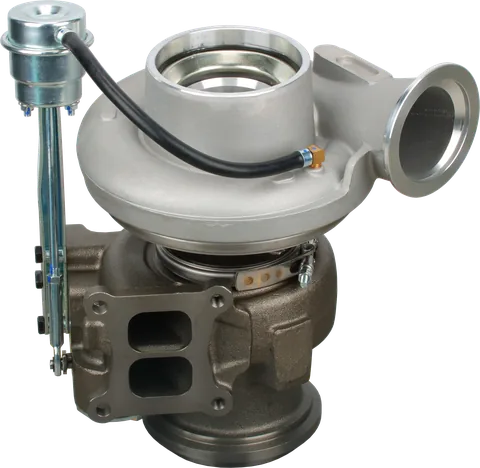
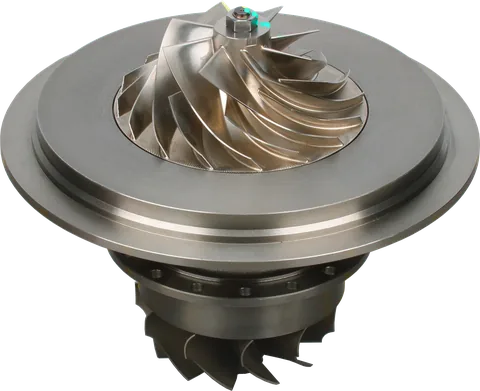
Compressor wheel: transfers shaft power to the air.
Bearing housing: supports the lubricated rotating assembly.
Turbine wheel: exhaust energy drives the shaft.
Product photograph from 2026. Numbers identify the features explained below.
Preserve evidence during removal
To preserve turbocharger warranty claim evidence, photograph the complete installation before taking close-ups. Wide views establish routing and component relationships; detailed views capture leaks, damaged connections, identification tags, and deposits. Keep original image files and label them with the asset ID and date.
Use these checkpoints during removal:
- Photograph oil feed and drain connections, intake plumbing, exhaust connections, and coolant lines where fitted before disconnecting them.
- Collect an engine oil sample before an oil change, following the laboratory's sampling instructions. Label the sampling point, date, engine hours, and oil service hours.
- Retain removed filters, lines, gaskets, fittings, loose fragments, and other potentially relevant parts. Identify where each came from.
- Do not wash, solvent-clean, wire-brush, scrape, or polish the failed turbo or retained evidence.
- Photograph exposed ports and mating surfaces before covering them. Protect openings with suitable clean caps that cannot introduce debris.
- Leave internal disassembly to the authorized inspection process. Do not loosen the compressor nut, alter actuator settings, or spin the rotor with compressed air.
Keep recovered fragments separate so shipping cannot create fresh impact marks. If parts have already been cleaned or dismantled, document exactly what happened. That information helps the inspector distinguish original damage from handling changes.
Use damage patterns to guide the investigation
Turbo failure analysis connects damage with engine conditions, installation details, and test results. Several causes can produce similar damage, while one initiating fault can create multiple secondary failures.
Keep the first assessment brief and use it to select the next checks.
| Failure mode | Possible physical clues | Checks that help establish the cause |
|---|---|---|
| Oil starvation | Bearing seizure, heat damage, or smeared bearing surfaces. | Verify oil supply, restrictions, installation priming, and relevant engine oil-pressure history. |
| Oil contamination | Scored journals or bearings and embedded particles. | Examine retained oil and filters; investigate debris sources and recent engine work. |
| Foreign object damage (FOD) | Local blade impacts, bent edges, or missing material. | Inspect the intake and exhaust paths and account for loose hardware or fragments. |
| Overspeed | Wheel deformation or fracture requiring specialist assessment. | Check boost controls, charge-air leaks, calibration, and turbo/application compatibility. |
| High exhaust gas temperature (EGT) | Heat distress or turbine-side cracking. | Review fueling, air supply, exhaust restriction, load history, and available temperature data. |
| Imbalance | Vibration-related bearing damage or wheel contact. | Investigate blade loss, deposits, previous rotor work, and specialist balance findings. |
These clues are not individual pass-or-fail tests. Wheel rubbing can follow bearing damage; a broken shaft can be the final event rather than the initiating cause. Heat discoloration alone does not establish oil starvation or excessive EGT.
Use OEM service data for measurements and limits. Record the test method and operating condition alongside each result. Specialist teardown, fracture examination, or laboratory analysis may be needed when the evidence cannot distinguish competing explanations.
How to write a turbocharger failure report
For a turbo warranty claim, organize the evidence into a short report that another technician can follow without having watched the repair. Put the asset ID, engine identification, turbo part and serial numbers, dates, mileage or hours, and technician's name at the top.
Use the following fields as a practical starting point for a diesel turbocharger warranty claim.
| Report field | What to enter |
|---|---|
| Symptom | The observed complaint, when it appeared, and the operating condition at the time. |
| Frequency | Whether the symptom occurred once, intermittently, or continuously; include any previous turbo failures. |
| History | Installation date, service interval, maintenance records, recent repairs, and relevant operating changes. |
| Findings | Labeled photos, diagnostic records, measurements, oil results, and inspection observations. |
| Root cause | The confirmed initiating fault and supporting evidence, or a provisional cause with outstanding tests. |
| Temporary action | Equipment isolation and other measures preventing further damage while investigation continues. |
| Permanent fix | Work that removes the initiating fault, the responsible person, and verification required before release. |
| Checks on similar units | Other affected engines or vehicles, their shared exposure, inspection results, and follow-up dates. |
Keep observations and conclusions distinct. “Debris found in the oil inlet” is an observation. Identifying its origin requires supporting evidence.
Avoid entries such as “bad turbo” or “driver abuse” without findings that explain them. Attach supporting records and reference their filenames in the report. Date each update so later results do not appear to have been known during the initial diagnosis.
Verify the repair and inspect similar units
Installing another turbocharger restores a component; preventing recurrence requires correction of the initiating fault. Assign an owner and completion date to that work.
Before release:
- Verify that the identified cause has been corrected using the appropriate OEM procedure.
- Assess possible engine damage and remaining debris or oil in the intake and exhaust systems before restarting.
- Record the relevant post-repair readings and confirm that the original symptoms have been resolved.
A short idle check may not reproduce a problem that appeared only under sustained load. Choose verification conditions appropriate to the failure, within safe service procedures.
Extend the investigation to units sharing the relevant exposure: the same oil supply hardware, installation procedure, maintenance practice, engine calibration, or operating duty. Prioritize those with matching symptoms or service history.
Document what was checked and what was found. A fleet inspection is useful only when it addresses the identified cause and produces a recorded result.
Return the core with its evidence intact
Confirm the destination, return authorization requirements, shipping instructions, and requested assembly condition before packing. A warranty inspection return and an ordinary exchange-core return may follow different processes.
Preserve the turbo as removed unless the reviewer instructs otherwise.
- Drain free liquids as directed, without flushing away deposits or cleaning internal surfaces.
- Cap openings and use packaging that supports the assembly without loading the wheels, actuator, or exposed fittings.
- Bag and label loose parts separately. Include associated components only as requested, and retain everything else until the investigation is closed.
- Put the return reference and unit identification inside the package as well as on the outside. Include the report and a list of enclosed parts.
Confirm separate instructions before shipping oil samples or other liquids. Photograph the packed assembly and retain tracking information.
Ask for a written inspection outcome identifying the evidence behind the decision. If a finding is disputed, respond with photographs, measurements, or records that address that finding directly.
Common Questions
Does early turbocharger failure prove a defect?
No. Early failure can follow a component defect, but it can also result from an unprimed bearing system, a restricted oil supply, contamination, or installation errors. Timing establishes when the problem appeared; inspection and engine checks establish why.
Can I dismantle the turbo before returning it?
Get the supplier's instructions first. Unauthorized teardown can disturb evidence and may affect claim eligibility. Unless instructed otherwise, leave the rotating assembly, housings, and actuator together, and send clear external photos with the report.
Does oil in the compressor outlet prove a seal failure?
No. Oil can reach the intake through the crankcase ventilation system, and drainage or pressure problems can contribute to turbo oil leakage. Record where the oil appears and check the engine and drain system before assigning a cause.
What if the cause is still uncertain?
Label the cause as provisional. List the evidence already collected, competing explanations, and tests still needed. Ask for the inspection findings and supporting photos. A useful report can remain open while laboratory or specialist work is pending.
Turbocharger core credit vs warranty approval: what's the difference?
No. Core credit usually concerns the return and acceptance of an exchange unit. Warranty approval concerns whether the failure qualifies under the applicable coverage. Confirm both processes, their deadlines, and the required condition of the returned assembly.
What makes a turbo warranty claim easier to assess?
A traceable unit, an intact returned assembly, documented operating conditions, service records, and labeled evidence give the reviewer a stronger basis for a decision. Include the corrective work and verification results so the investigation also helps prevent a repeat failure.
Contact LeadTurbo with the turbo part number, engine model, and application details for help identifying replacement options.