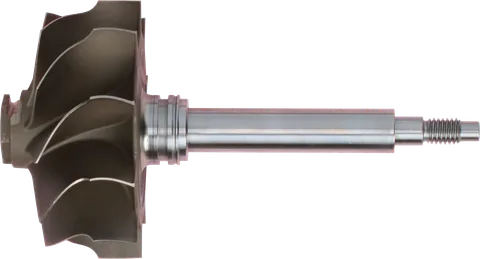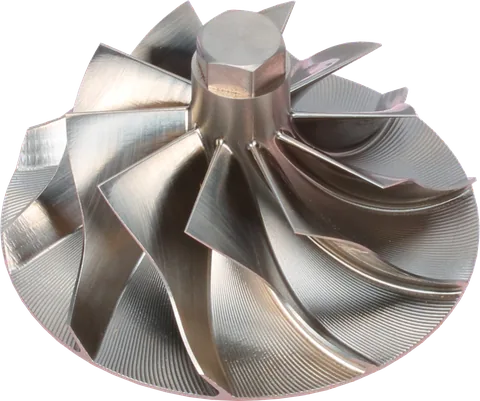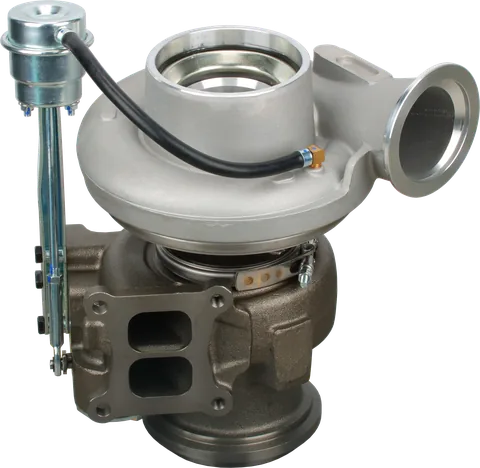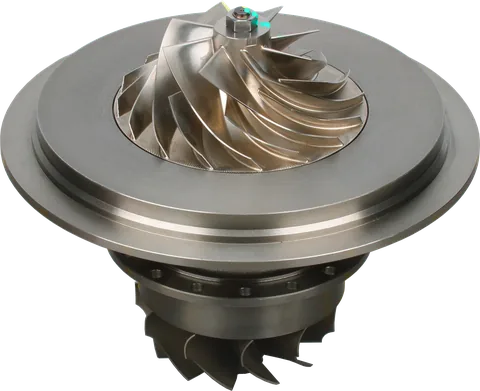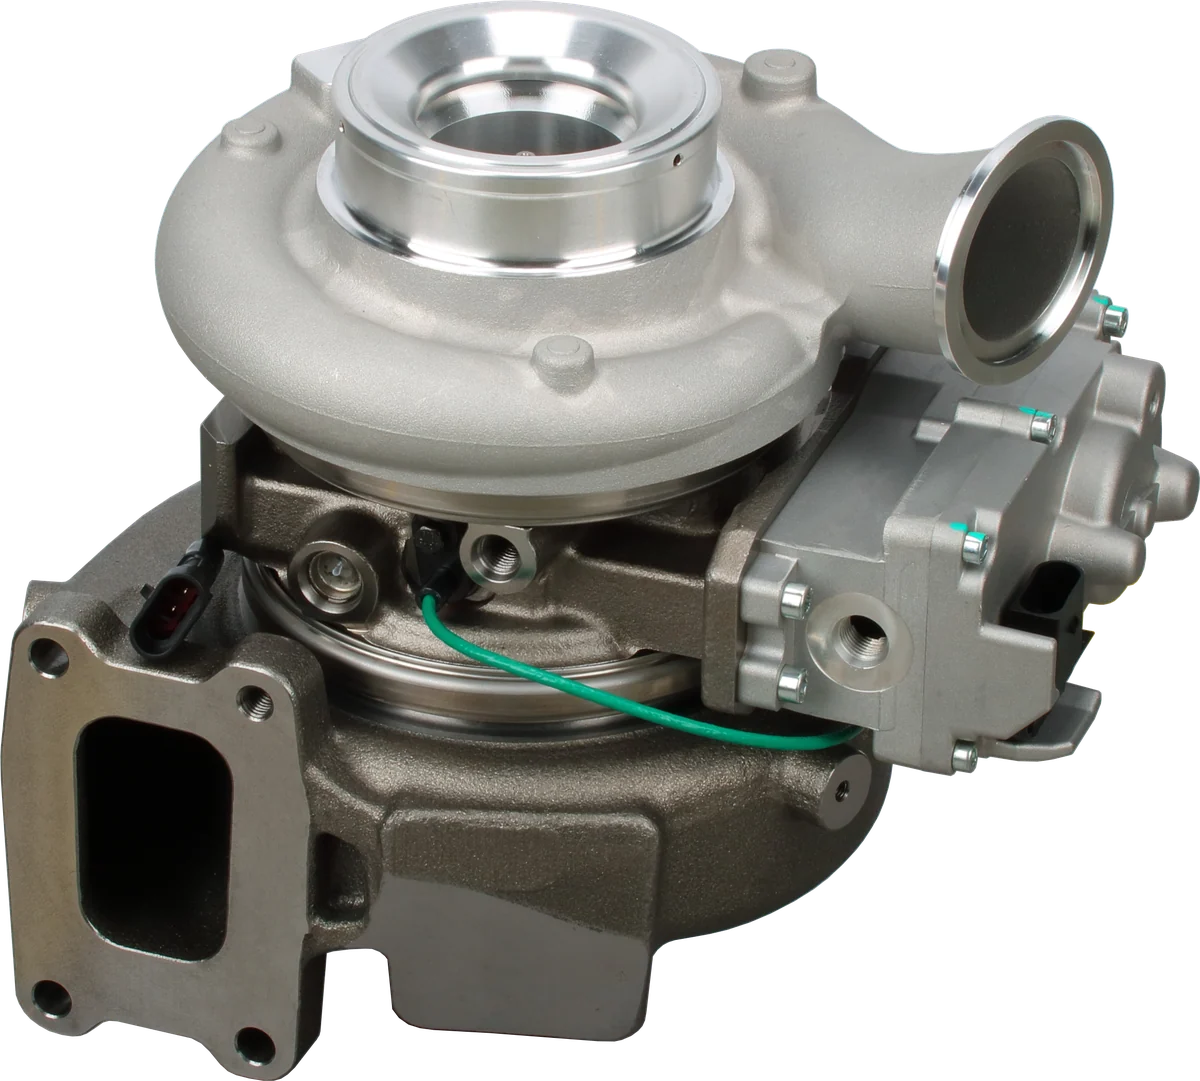
A report of “turbo wheel rubbing housing” describes a symptom, not the failed part. Bearing wear may let the rotor move, but a bent shaft, trapped debris, or incorrect housing can create similar marks. Stop running the engine, let the turbo cool, and prevent accidental starting before inspection. Do not spin it with compressed air or force a tight rotor.
When investigating diesel turbocharger wheel rubbing on a truck, loader, marine engine, or generator set, retain the failed parts until the failure chain is understood.
How to check turbocharger wheel rubbing on both sides
Inspect before cleaning so you preserve evidence. Photograph each wheel, its housing contour, and any loose fragments. Compressor wheel rub appears on the intake side; turbine contact is in the exhaust housing. The compressor is usually easier to inspect through its inlet. Seeing the turbine may require outlet access or housing removal under the service procedure.
| Location | Typical evidence | What it suggests |
|---|---|---|
| Compressor side | Polished blade tips, an aluminum smear, or a scored housing contour following the wheel profile | Tip contact; compare wheel and housing marks at matching positions. |
| Turbine side | Bright or worn blade tips against soot, with a matching scraped track in the housing | Exhaust-side contact; deposits may conceal its full extent. |
| Back face or adjacent stationary parts | Circular marks behind a wheel or on a backplate or heat shield | Possible axial movement, incorrect assembly, or displaced stationary parts. |
Bent blades can result from impact or heavy rubbing. Isolated dents and damaged leading edges favor foreign object damage; a repeated tip pattern with a matching housing track favors contact. Neither pattern identifies the initiating cause by itself.
Map whether the housing mark circles the bore or stays in one sector, and inspect both ends of the common shaft. A local patch may reflect housing misalignment, while a wider track may reflect rotor movement; neither proves the cause.
What causes turbo wheel rubbing housing?
Start with the first item, then adjust the sequence to the failure history. Compare turbocharger rubbing when hot vs cold, and record when the scrape began: after a rebuild, after an impact, or only at hot restart. Measurements and teardown establish the cause.
- Bearing wear and excessive shaft play. Worn journal or thrust parts allow excess radial or axial movement. Investigate oil starvation or contamination. Excessive play describes the damage; it does not establish why the bearings failed.
- Bent shaft. Impact, severe contact, or mishandling can leave the rotor running off-center. Confirm runout using the specified inspection setup; replacing bearings cannot straighten the shaft.
- Imbalance after a poor rebuild. Incorrect components, assembly errors, or inadequate balancing can cause excessive motion at speed even when cold play seems acceptable. Require the balancing process appropriate to that turbocharger.
- Foreign object damage. An impact can bend a blade or upset rotor balance. Find the entry path and recover missing material before installing replacement parts.
- Carbon and coke deposits. Deposits can obstruct the turbine end of the shaft and sealing area, restrict lubrication, or occupy clearance around the wheel. Cleaning the visible wheel alone may miss internal damage.
- Housing distortion or mounting stress. Heat damage, damaged locating surfaces, uneven fastening, and loads from misaligned piping can alter alignment. Inspect supports and fit before blaming the rotating assembly.
- Thermal growth after hot shutdown. Heat redistribution can temporarily reduce local clearance and promote coking. A healthy, correctly matched turbo accommodates expected thermal movement; rubbing when hot demands investigation of clearance, distortion, and deposits.
- Wrong housing/wheel combination. Similar-looking parts can have different contours or locating registers. Verify turbo assembly and CHRA (center housing rotating assembly) identification; matching bolt holes does not establish correct wheel clearance.
More than one cause may be present. A foreign object can damage a blade, increase imbalance, overload the bearings, and leave rub marks on both ends. The worst mark may therefore be a secondary failure.
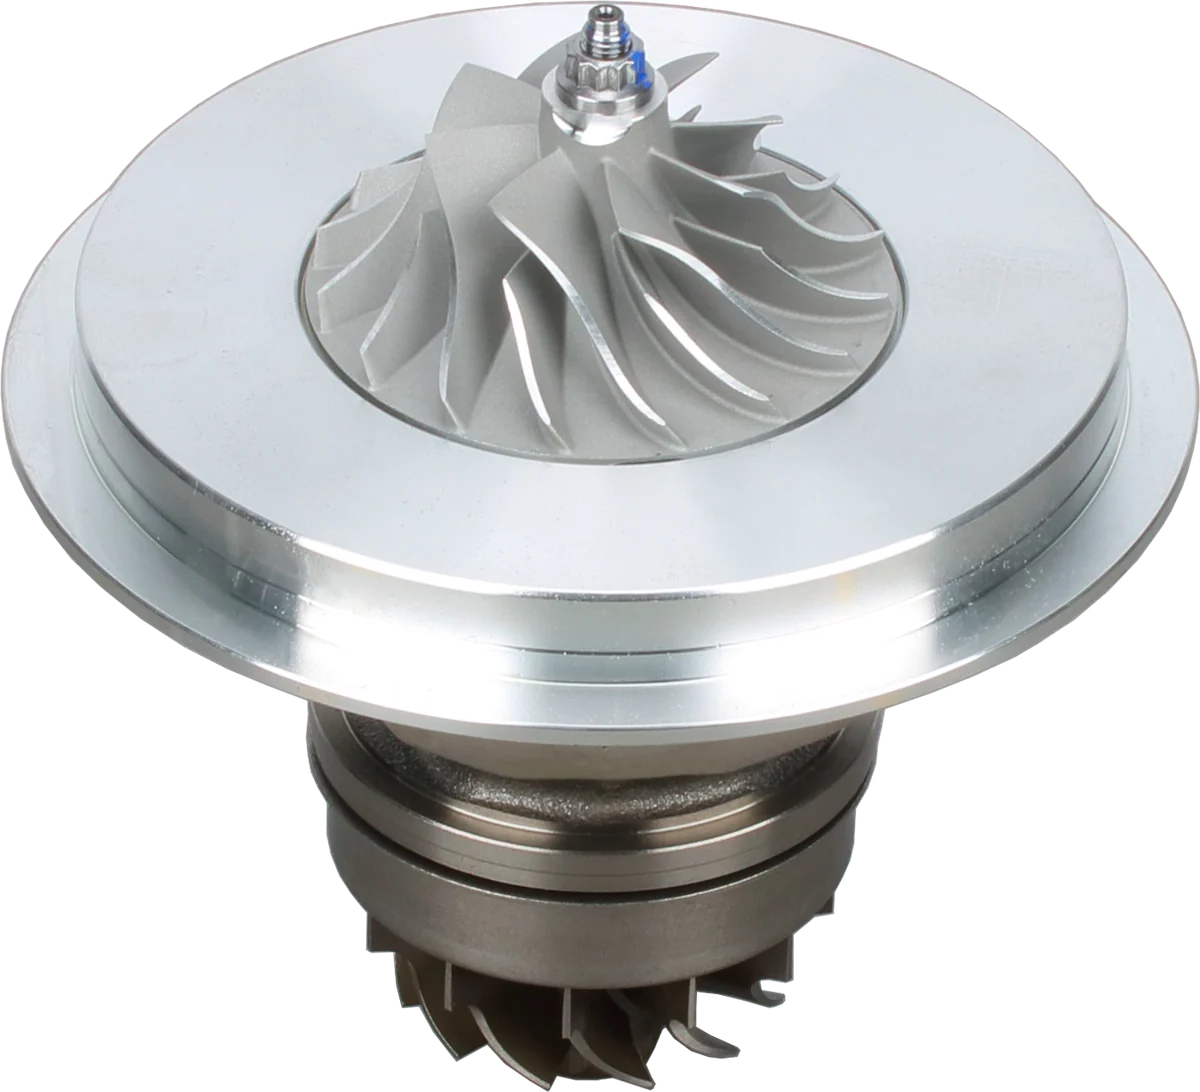
Compressor wheel: transfers shaft power to the air.
Bearing housing: supports the lubricated rotating assembly.
Turbine wheel: exhaust energy drives the shaft.
Product photograph from 2026. Numbers identify the features explained below.
Measure axial and radial play properly
Start with the exact turbo model and OEM service data. Do not apply a universal clearance number or use another model's limit. LeadTurbo's turbo shaft play guide explains the broader distinction between normal movement and wear; these are the checks that matter when contact is suspected.
- Radial play: Measure movement perpendicular to the shaft with a dial indicator, using the specified contact point, direction, and light measuring load. Keep the fixture rigid and use the prescribed housing configuration.
- Axial play: Align the indicator with the shaft axis, then gently push and pull the rotor through its travel using the approved contact point. Do not pry on blades or loosen the compressor nut.
- Interpretation: An unloaded journal bearing rotor can have noticeable radial movement without its operating oil film. Ball bearing designs differ. Never force the wheel sideways to create contact; follow the model's measured limits and inspection criteria.
Turn the rotor gently through a full revolution without imposing side load. Record tight spots and mark their angular positions. A blade-tip measurement is not a shaft-runout measurement, and acceptable cold play does not prove adequate running clearance.
A seized rotor: coke, damaged bearings, or debris?
A seized turbo is not diagnosed by how much force frees it. Three conditions can feel similar:
- Coking: Hard deposits can bind the shaft or sealing area, or obstruct oil passages. Teardown must establish whether the bearing surfaces also suffered.
- Bearing seizure: Scored journals, transferred or smeared bearing material, and heat damage point toward failed lubrication and mechanical seizure.
- Trapped debris: A fragment can wedge between wheel and housing, sometimes producing a distinct stopping point. Recover it and identify where it originated.
Separate rotor rotation from actuator movement on a VGT unit. Stuck vanes or a binding actuator can cause control trouble while the shaft still turns; the vane mechanism needs its own inspection. Do not treat actuator resistance as proof of rotor seizure.
Do not flush a locked unit with solvent and put it back to work. A rotor that turns after cooling or debris removal may still have damaged bearings, lost blade material, or a bent shaft.
Match the symptom to a check
| Symptom | Likely cause | Next check |
|---|---|---|
| Tip rub with excessive side movement | Worn radial bearing support | Measure radial travel; inspect journals, bearings, and oil circuit. |
| Back-face rubbing with axial movement | Thrust wear or incorrect axial assembly | Measure end play and inspect thrust parts and assembly. |
| Tight spot at the same rotor angle | Bent shaft, damaged blade, or wedged debris | Inspect blade geometry and measure shaft runout during teardown. |
| Scrape confined to one housing sector | Local distortion, eccentric assembly, or rotor excursion | Inspect housing registers, mounting strain, and rotor support. |
| Contact appeared immediately after rebuilding | Mismatched parts, assembly error, or imbalance | Verify parts, clearances, and balancing records. |
| Rub reported hot; rotor frees when cold | Heat-related interference or deposits | Inspect contour, deposits, and mounting condition; review shutdown history. |
Inspect the engine systems before fitting replacement parts
A new turbocharger can fail quickly if the original cause remains. Inspect the full air, exhaust, and oil path:
- Air filter and intake ducts: Check the correct filter element, sealing, clean-side dust, loose hardware, collapsed ducting, and damaged hose liners. Remove all debris upstream of the compressor.
- Charge-air piping, cooler, and intake manifold: If compressor material is missing, inspect downstream components before restart. Follow the engine maker's cleaning or replacement procedure; a cooler with unrecoverable debris must not return to service.
- Exhaust manifold: Look for loose gasket material, broken hardware, and evidence of engine component failure upstream of the turbine. Inspect the engine when debris suggests an internal fault.
- Oil supply: Check line condition, restrictions, gasket alignment, and the specified supply pressure or flow using the OEM procedure. Follow model-specific replacement and priming instructions.
- Oil drain: Check for coke, kinks, poor routing, and crankcase-pressure problems that obstruct drainage. Correct the cause before attaching the replacement.
- Mounting and connections: Ensure housings seat correctly and piping aligns without being pulled into place by fasteners. Restore brackets and supports, then use the specified tightening sequence and torque.
Can you reuse a rubbed turbocharger housing?
Make this decision after cleaning and dimensional inspection by a qualified rebuilder. Check the wheel contour, locating registers, mounting faces, cracks, and distortion against the exact part's acceptance criteria. A light-looking mark can still represent lost clearance or damaged geometry.
| Housing condition | Reuse decision |
|---|---|
| Superficial witness mark, with correct contour and all inspections passed | Reuse only if the applicable repair criteria permit it. |
| Deep scoring, gouging, metal transfer, or material loss | Replace unless an approved repair process establishes serviceability. |
| Cracks, distortion, damaged registers, or uncertain dimensions | Reject or obtain specialist assessment under model-specific criteria. |
| Incorrect housing for the wheel or CHRA | Fit the correct matched housing. |
Do not grind the housing to make room or reuse bent, cracked, or rubbed blades without an approved specialist assessment. A replacement CHRA cannot restore a damaged housing contour.
Parts for this guide
 466820-0004 Turbocharger Core for Isuzu 6BG1 & Sumitomo S380
FOR 466820-0004
Core
On backorder — orders accepted
 709153-0001 GT4288 Turbocharger Repair Kit for Volvo D12A & CAT C10
709153-0001
Repair kit
On backorder — orders accepted
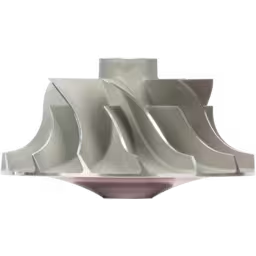 169410 S4DS Compressor Wheel for CAT 3406C Turbocharger
169410
Compressor wheel
In Stock
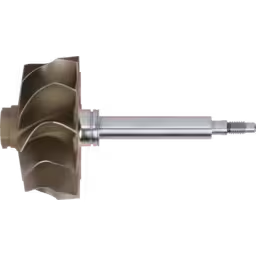 714322-0002 TW Turbine Wheel BTL7510 Turbocharger
FOR 714322-0002 TW
Turbine wheel
In Stock
Common Questions
Can turbo wheel rubbing housing be normal?
Actual blade contact is not normal. Some unloaded journal bearing turbos have noticeable radial movement without their operating oil film, but that does not make fresh rub marks acceptable. Use the exact model's inspection procedure and limits.
Can I free a seized rotor and reuse it?
Turning again does not prove the journals, bearings, thrust parts, or wheels survived. Do not use force or engine operation to clear a locked rotor; have the assembly inspected.
Does a freely spinning rotor rule out rubbing?
No. A cold rotor may turn freely after contact under load or during heat soak. Check matching witness marks and dimensions; turning it by hand cannot reproduce operating conditions.
Will a new CHRA fix turbocharger rubbing?
Only if the replacement CHRA matches both housings, the housings pass inspection, and the original fault is corrected. Damaged contours or mounting strain can make the replacement rotor rub again.
Can I sand the housing or straighten a blade?
Do not attempt either as a field repair. Material removal changes clearances, and blade work changes geometry and balance. Use approved replacement parts or a qualified rebuilder's documented repair process.
For help diagnosing turbo wheel rubbing housing, contact LeadTurbo with the turbo part number, engine details, and clear photos.